
最近没事想在Ubuntu上搞个MySQL玩玩,本人最习惯使用的Linux系统是Ubuntu,但是发现,在mysql官网下载的老版本的(5.6之前)mysql没有提供对Ubuntu的DEB安装包(mysql看不起Ubuntu?),所以就不得不使用离线包进行安装了,安装过程中遇到了许多的问题,经过一番的摸索以及查询一些资料,终于把mysql安装成功了。下面我把我的安装过程分享给大家,不足之处请指正。
首先从mysql官网上下载所需的离线包,我现在的版本是5.5.45,下载链接是
http://cdn.mysql.com/archives/mysql-5.5/mysql-5.5.45-linux2.6-x86_64.tar.gz
建议使用迅雷下载,浏览器下载或者直接wget下载速度不稳定,经常会有下载失败的情况。
下载完之后,将tar包拷贝到/usr/loacl目录下解压缩:
tar -zxvf mysql-5.5.45-linux2.6-x86_64.tar.gz
重命名为mysql:
mv mysql-5.5.45-linux2.6-x86_64 mysql
在安装之前先安装一个依赖包,mysql运行的时候会用到这个依赖包,否则运行不了:
apt-get install libaio-dev
依赖包安装完之后就该安装mysql了,在/usr/local/mysql目录下运行命令(后同),:(注意输出的文字,里边有修改root密码和启动mysql的命令)
./scripts/mysql_install_db --user=root
Installing MySQL system tables...
[Note] ./bin/mysqld (mysqld 5.5.45) starting as process 10902 ...
OK
Filling help tables...
[Note] ./bin/mysqld (mysqld 5.5.45) starting as process 10908 ...
OK
To start mysqld at boot time you have to copy
support-files/mysql.server to the right place for your system
PLEASE REMEMBER TO SET A PASSWORD FOR THE MySQL root USER !
To do so, start the server, then issue the following commands:
./bin/mysqladmin -u root password 'new-password'
./bin/mysqladmin -u root -h qiuxiao-ubuntu password 'new-password'
Alternatively you can run:
./bin/mysql_secure_installation
which will also give you the option of removing the test
databases and anonymous user created by default. This is
strongly recommended for production servers.
See the manual for more instructions.
You can start the MySQL daemon with:
cd . ; ./bin/mysqld_safe &
You can test the MySQL daemon with mysql-test-run.pl
cd ./mysql-test ; perl mysql-test-run.pl
Please report any problems at http://bugs.mysql.com/
启动mysql,指定root用户:
./bin/mysqld_safe --user=root &
设置root用户密码
./bin/mysqladmin -u root password '新密码'
重启mysql:
./bin/mysqladmin -uroot -p密码 shutdown(注意,u,p后没有空格)
./bin/mysqld_safe --user=root &
设置允许root远程连接:
1)本机登陆mysql:
./bin/mysql -u root -p
2)从所有主机:
mysql> grant all privileges on *.* to root@"%" identified by "root用户的密码" with grant option;
3)从指定主机:
mysql> grant all privileges on *.* to root@"192.168.11.205" identified by "root用户的密码" with grant option; flush privileges;
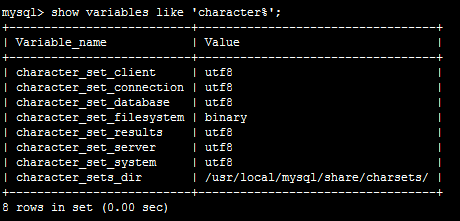
设置字符集:
查询字符集:
mysql> show variables like 'character%';
字符集查询结果
mysql> SET character_set_database = utf8;
mysql> SET character_set_server = utf8;
重启,使字符集生效
设置开机启动
可以通过support-files下的mysql.server启动停止mysql,命令如下:
启动mysql:./support-files/mysql.server start –user=root
停止mysql:./support-files/mysql.server stop
1)mysql启动默认使用的是/etc/my.cnf配置文件,所以拷贝一份配置文件到/etc/下:
cp ./support-files/my-medium.cnf /etc/my.cnf
2)拷贝mysql.server文件到/etc/init.d/目录下:
cp ./support-files/mysql.server /etc/init.d/mysql.server
3)指定启动时所使用的用户,修改my.cnf配置文件,在[mysqld]下加一行user=root:
vim /etc/my.cnf
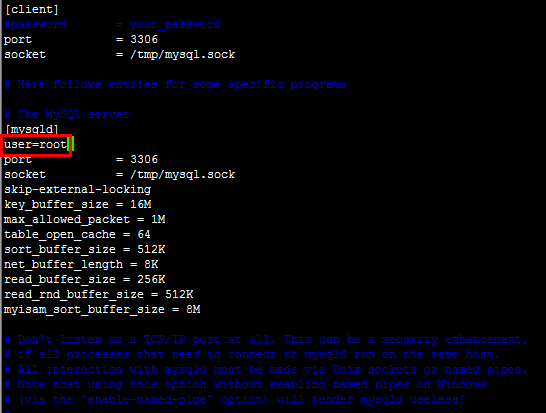
编辑my.cnf文件,增加启动用户
4)设置开机启动:
update-rc.d -f mysql.server defaults
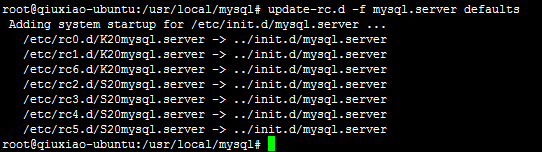
至此,mysql安装完毕,重启Ubuntu,验证一下mysql是否已经随机启动。

重启Ubuntu
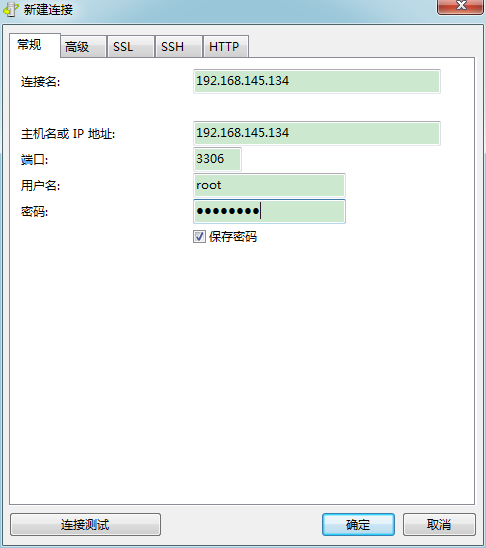
Navicat连接mysql
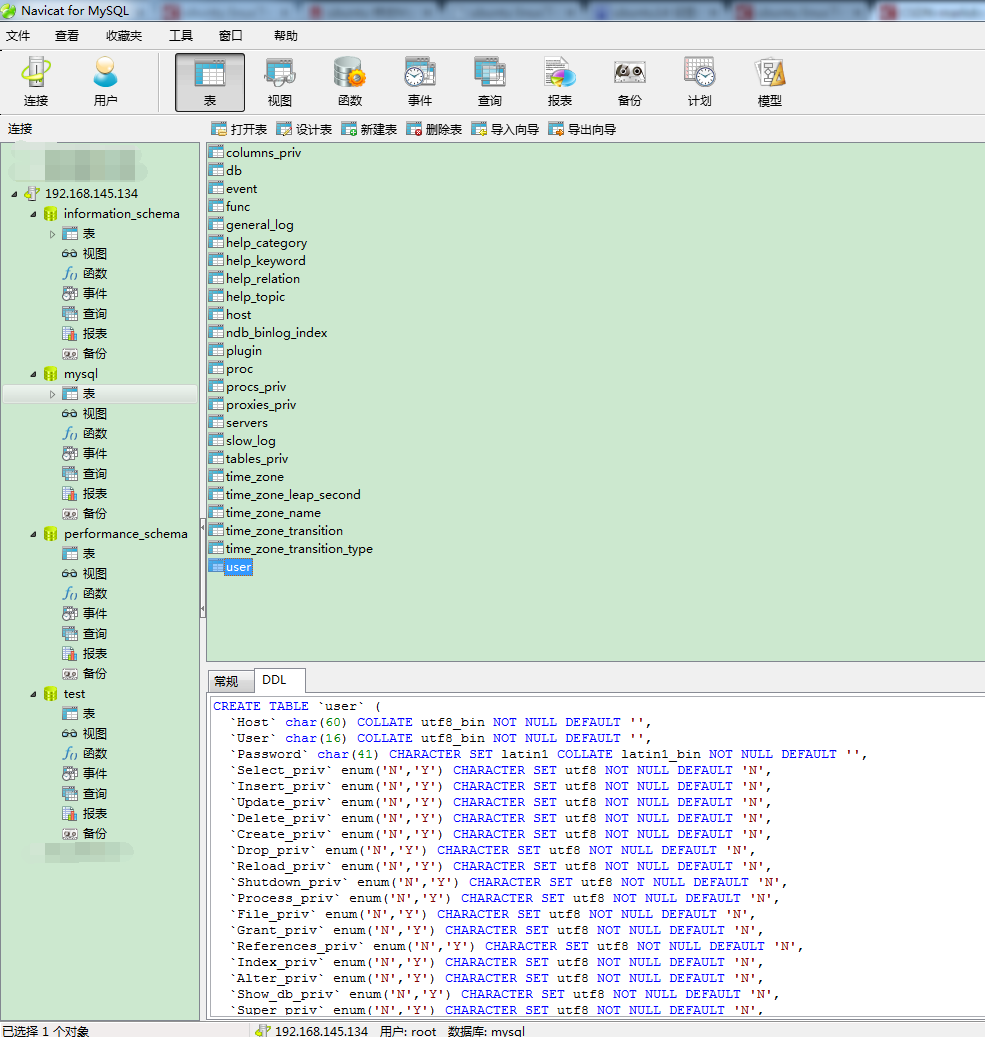
由图可知,连接成功!