
最初下载chromium源码采用更改hosts表的方法,经过反复尝试发现这样真不行,能下载下源码来也更新不成功。折腾了一段时间最终购买了shadowsocks,以下为在Ubuntu16.04 x64 LTS下配置终端及Firefox浏览器过程(Ubuntu14.04 x64同样适用)。
安装shadowsocks
~$ sudo apt-get install python-gevent python-pip
~$ sudo pip install shadowsocks
安装后需要对Shadowsocks进行配置,在/etc目录下新建shadowsocks.json文件,添加以下内容
{
"server": "your server ip",
"server_port": 15216,
"local_address": "127.0.0.1",
"local_port": 1080,
"password": "your password",
"method": "aes-256-cfb",
"fast_open": true,
"workers": 1
}
需要注意”server”,”server_port”,”password”,”method”这几项需照着你的shadowsocks账号填写。”local_address”,”local_port”保持默认即可。
启动shadowsocks
~$ sslocal -c /etc/shadowsocks.json
为了不每次启动都需手动输入一遍,设置为开机启动。在/etc/rc.local中添加如下命令,注意在exit 0之前。
sudo sslocal -c /etc/shadowsocks.json
在终端下
终端下采用的是Privoxy,Privoxy是一款带过滤功能的代理服务器,针对HTTP、HTTPS协议。通过Privoxy的过滤功能,用户可以保护隐私、对网页内容进行过滤、管理cookies,以及拦阻各种广告等。Privoxy可以用作单机,也可以应用到多用户的网络。
安装privoxy
~$ sudo apt-get install privoxy
安装好后进行Privoxy配置,配置文件在/etc/privoxy/config
找到4.1. listen-address这一节,确认监听的端口号。
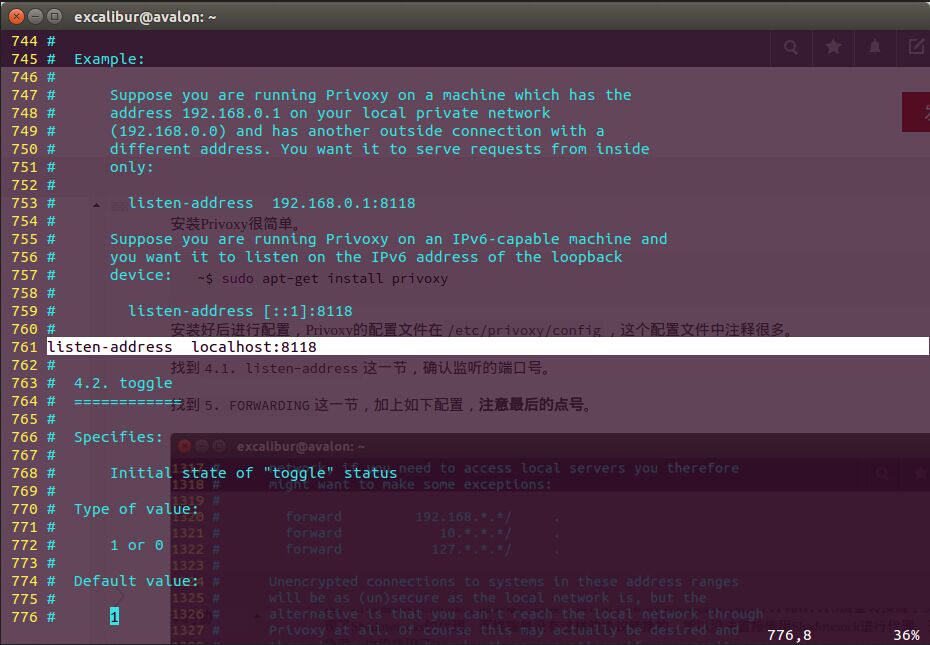
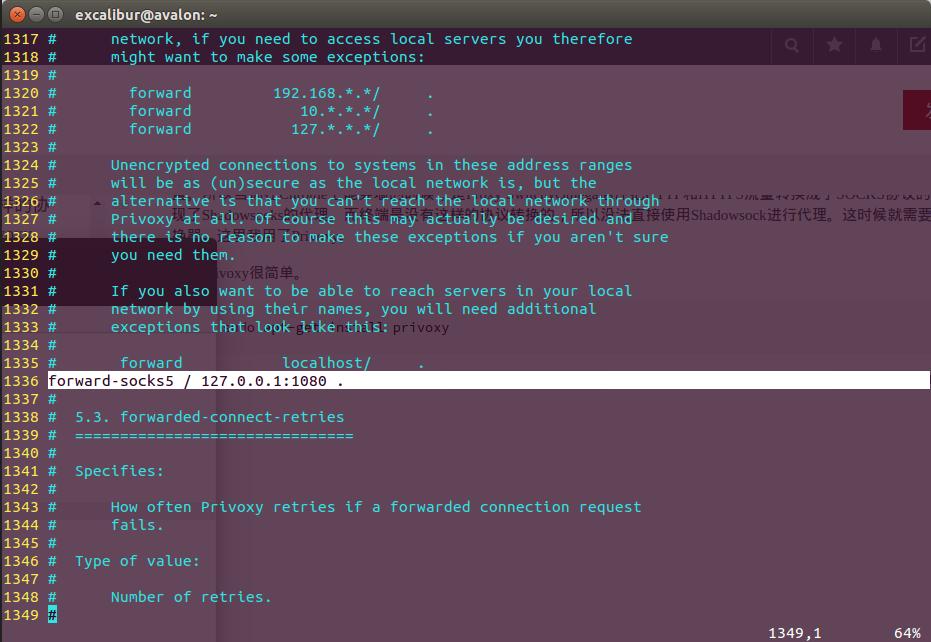
找到5.2. forward-socks4, forward-socks4a, forward-socks5 and forward-socks5t这一节,加上如下配置,注意最后的点号。
Privoxy配置完需重启一下Privoxy。
~$ sudo /etc/init.d/privoxy restart
配置终端环境
~$ export http_proxy="127.0.0.1:8118"
~$ export https_proxy="127.0.0.1:8118"
为了方便还是设置为开机启动,在/etc/rc.local中添加如下命令,注意在exit 0之前
sudo /etc/init.d/privoxy start
在/etc/profile的末尾添加如下两句
export http_proxy="127.0.0.1:8118"
export https_proxy="127.0.0.1:8118"
测试效果
~$ wget http://www.google.com
成功会在当前目录下生成index.html.1,不成功的话电脑重启一下。
浏览器下
Ubuntu安装完自带Firefox浏览器,所以我用的是Firefox。
在firefox中
preference->advanced->network->connection->settings中选择Manual proxy configuration,设置HTTP Proxy:127.0.0.1 Port: 8118
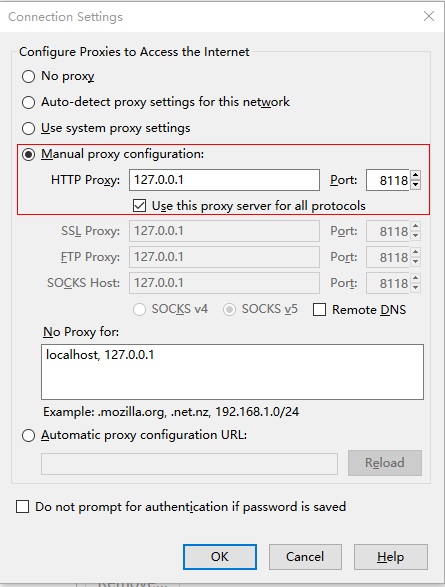
然后浏览器就可以访问了。