在企业中,随着公司业务的扩张,用户量的增大,单一节点应用无法支撑正常的业务逻辑,比较常见的现象是访问速度变慢,甚至超时,严重时可能会造成系统宕机。为了尽量减少宕机的风险,单一节点系统需要进行水平扩展,采用分布式-分而治之的方式对海量请求进行处理,分摊单个节点的压力,使系统整体高可用。但分布式也会带来一定的挑战,比如配置文件的管理。如果某个配置要修改,那么所有的节点都要进行修改,当面临大规模集群时,很容易改错或改漏。因此,需要一个统一的配置管理中心对配置进行管理,集中修改一个配置文件,所有机器能够自动同步。disconf就是百度开源的配置管理中心。
以下是参照官方开源文档在单节点上进行搭建,文档地址:https://github.com/knightliao/disconf/tree/master/disconf-web
操作系统为:ubuntu server 16.04 64bit
1、安装依赖软件
安装MySQL、Tomcat、Nginx、zookeeper、Redis,并提前配置好jdk(JAVA_HOME)和maven(MAVEN_HOME)环境。
2、下载disconf-web,并安装
下载地址:https://github.com/knightliao/disconf/tree/master/disconf-web
2.1、准备配置
将你的配置文件存放在此目录下(以下地址可以自行设定)
$HOME/app/disconf-rd/online-resources
如果不知道如何配置,可以拷贝disconf-web/profile/rd目录下的文件,拷贝过去后修改即可。
配置文件包括:
- jdbc-mysql.properties (数据库配置) 主要修改数据库的host和mysql的用户名和密码
- redis-config.properties (Redis配置) 主要修改2个实例的host和端口
- zoo.properties (Zookeeper配置) 主要修改里面的hosts,指定zookeeper集群的host的端口
- application.properties (应用配置) 该文件中主要是配置了监控邮件发送和接受的服务器和邮箱地址
注意,记得执行将application-demo.properties复制成application.properties:
$ cp application-demo.properties application.properties
注意,即使只有一个redis,也应该配置两个redis client,否则将造成内部错误。
设置war包将要被部署的地址(以下地址可以自行设定)
$HOME/app/disconf-rd/war
2.2、构建
由于ubuntu 16.04已经放弃了python2.x,使用python3.x,所以需要先将 deploy/deploy.sh 中的python命令修改为python3。
$ ONLINE_CONFIG_PATH=$HOME/app/disconf-rd/online-resources
$ WAR_ROOT_PATH=$HOME/app/disconf-rd/war
$ export ONLINE_CONFIG_PATH
$ export WAR_ROOT_PATH
$ cd disconf-web
$ sh deploy/deploy.sh
构建过程中会出现以下错误:
Traceback (most recent call last):
File "build.py", line 10, in <module>
reload(sys)
NameError: name 'reload' is not defined
修改方式:在 html/build.py 中import reload方法:
from imp import reload # In Python 2.x, reload() was a builtin, but in 3.x, it's in the imp module.
重新进行构建,再次报错:
Traceback (most recent call last):
File "build.py", line 12, in <module>
sys.setdefaultencoding('utf-8') # @UndefinedVariable
AttributeError: module 'sys' has no attribute 'setdefaultencoding'
修改方式:在 html/build.py 中将 sys.setdefaultencoding('utf-8') 注释掉。因为在python3默认使用utf-8编码,不需要显示设置。
这样会在 $HOME/app/disconf-rd/war 生成以下结果:
-disconf-web.war
-html
-META-INF
-WEB-INF
2.3、上线前的初始化工作
初始化数据库:
可以参考 sql/readme.md 来进行数据库的初始化。注意顺序执行 0-init_table.sql、1-init_data.sql、201512/20151225.sql、20160701/20160701.sql。
部署war:
修改server.xml文件,在Host结点下设定Context:
<Context path="" docBase="/home/jason/app/disconf-rd/war"></Context>
并设置端口为 8015,启动Tomcat,即可。
部署前端:
在http节点内部加上:
upstream disconf {
server 127.0.0.1:8015;
}
server {
listen 8081;
server_name disconf.com;
access_log /home/jason/app/disconf-rd/logs/access.log;
error_log /home/jason/app/disconf-rd/logs/error.log;
location / {
root /home/jason/app/disconf-rd/war/html;
if ($query_string) {
expires max;
}
}
location ~ ^/(api|export) {
proxy_pass_header Server;
proxy_set_header Host $http_host;
proxy_redirect off;
proxy_set_header X-Real-IP $remote_addr;
proxy_set_header X-Scheme $scheme;
proxy_pass http://disconf;
}
}
upstream disconf 配置中的端口必须与tomcat启动的端口一致。
server中listen是启动该disconf前端的端口。
里面需要修改access_log和error_log指定log的位置。
disconf使用前后端分离的部署方式,前端配置在nginx中,后端api部署在tomcat中。
2.4、启动
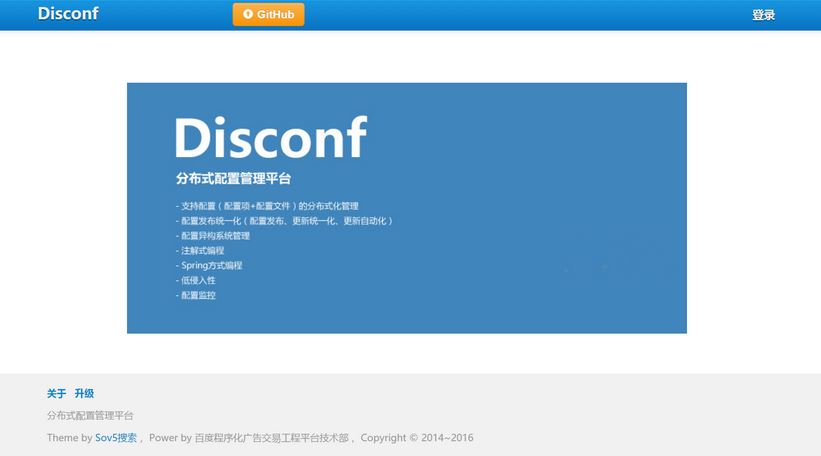
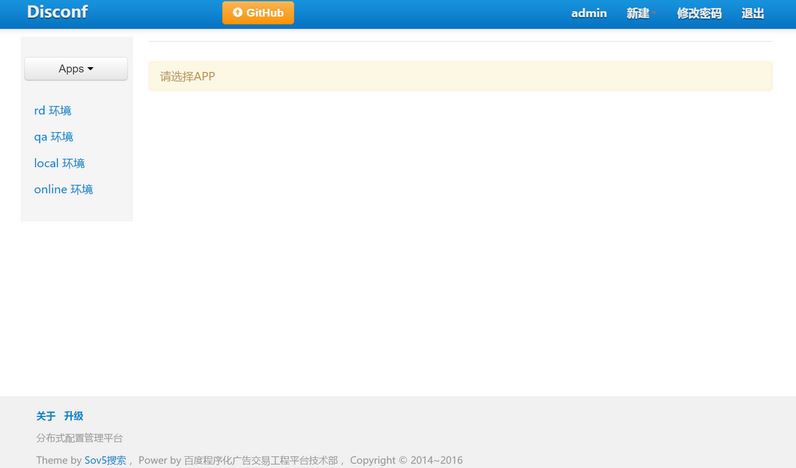
分别启动redis、zookeeper、tomcat和nginx,然后浏览器访问:http://ip:8081/,使用用户名admin和密码admin进入系统,至此disconf的web操作服务搭建完成。
界面如下: