
安装HBase
Hbase是一个构建在HDFS上的分布式列存储系统,主要用于海量结构化数据存储。这里,我们的目标只是为Python访问HBase提供一个基本的环境,故直接下载二进制包,采用单机安装。下载后解压,修改配置文件,然后可以直接启动HBase了。所用系统版本为ubuntu14.04。
下载HBase
wget https://mirrors.tuna.tsinghua.edu.cn/apache/hbase/1.2.4/hbase-1.2.4-bin.tar.gz
tar zxvf hbase-1.2.4-bin.tar.gz
修改HBase配置
修改hbase-env.sh,设置JAVA_HOME。
export JAVA_HOME=/usr/lib/jvm/java-8-oracle
修改hbase-site.xml,设置存储数据的根目录。
<configuration>
<property>
<name>hbase.rootdir</name>
<value>file:///home/mi/work/hbase/data</value>
</property>
</configuration>
启动HBase
bin/start-hbase.sh # 启动
bin/hbase shell # 进入hbase交互shell
安装Thrift
安装好HBase之后,还需安装Thrift,因为其他语言调用HBase时,需要通过Thrift进行连接。
安装Thrift依赖
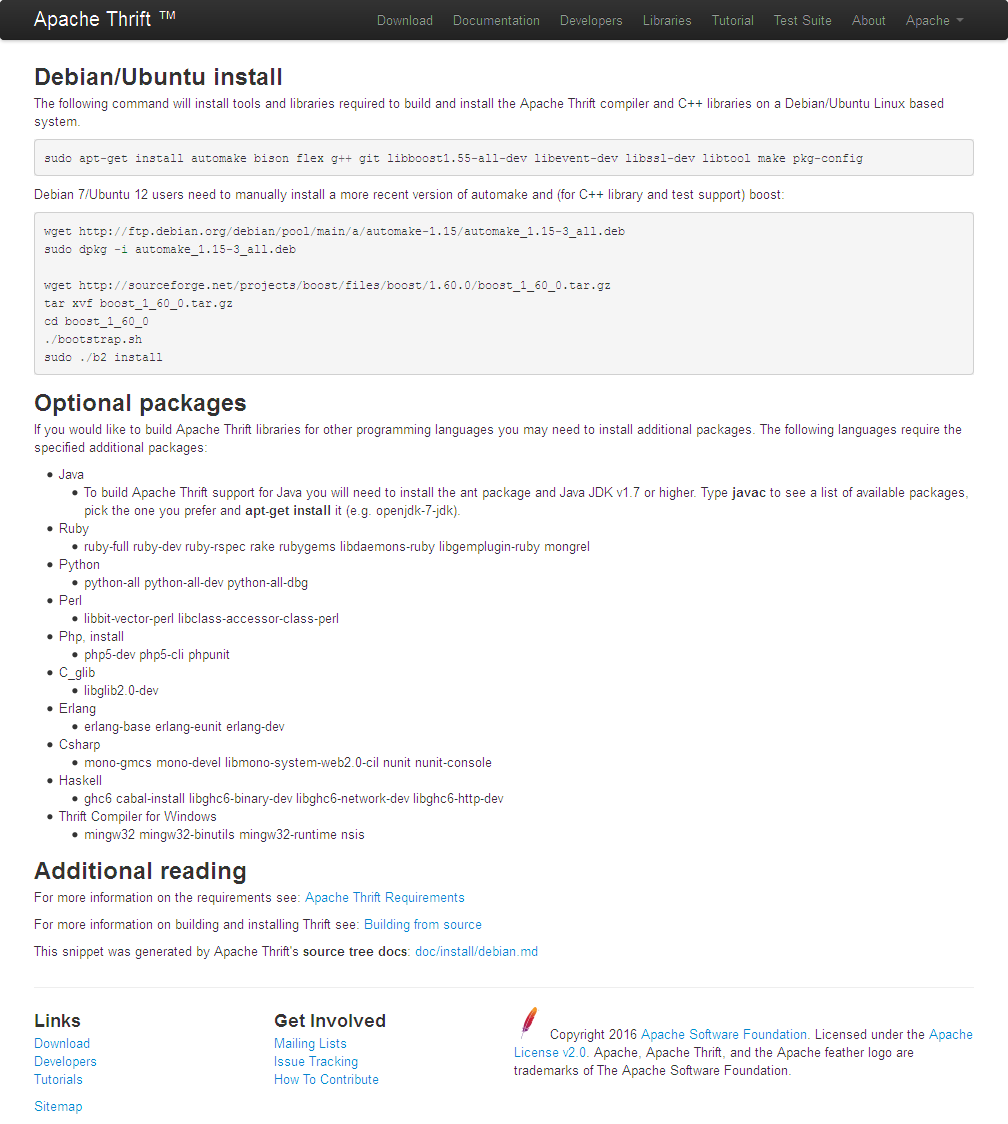
sudo apt-get install automake bison flex g++ git libboost1.55 libevent-dev libssl-dev libtool make pkg-config
PS: libboost1.55-all-dev,在我的ubuntu14.04上安装有点问题,所以装的是libboost1.55。
编译安装
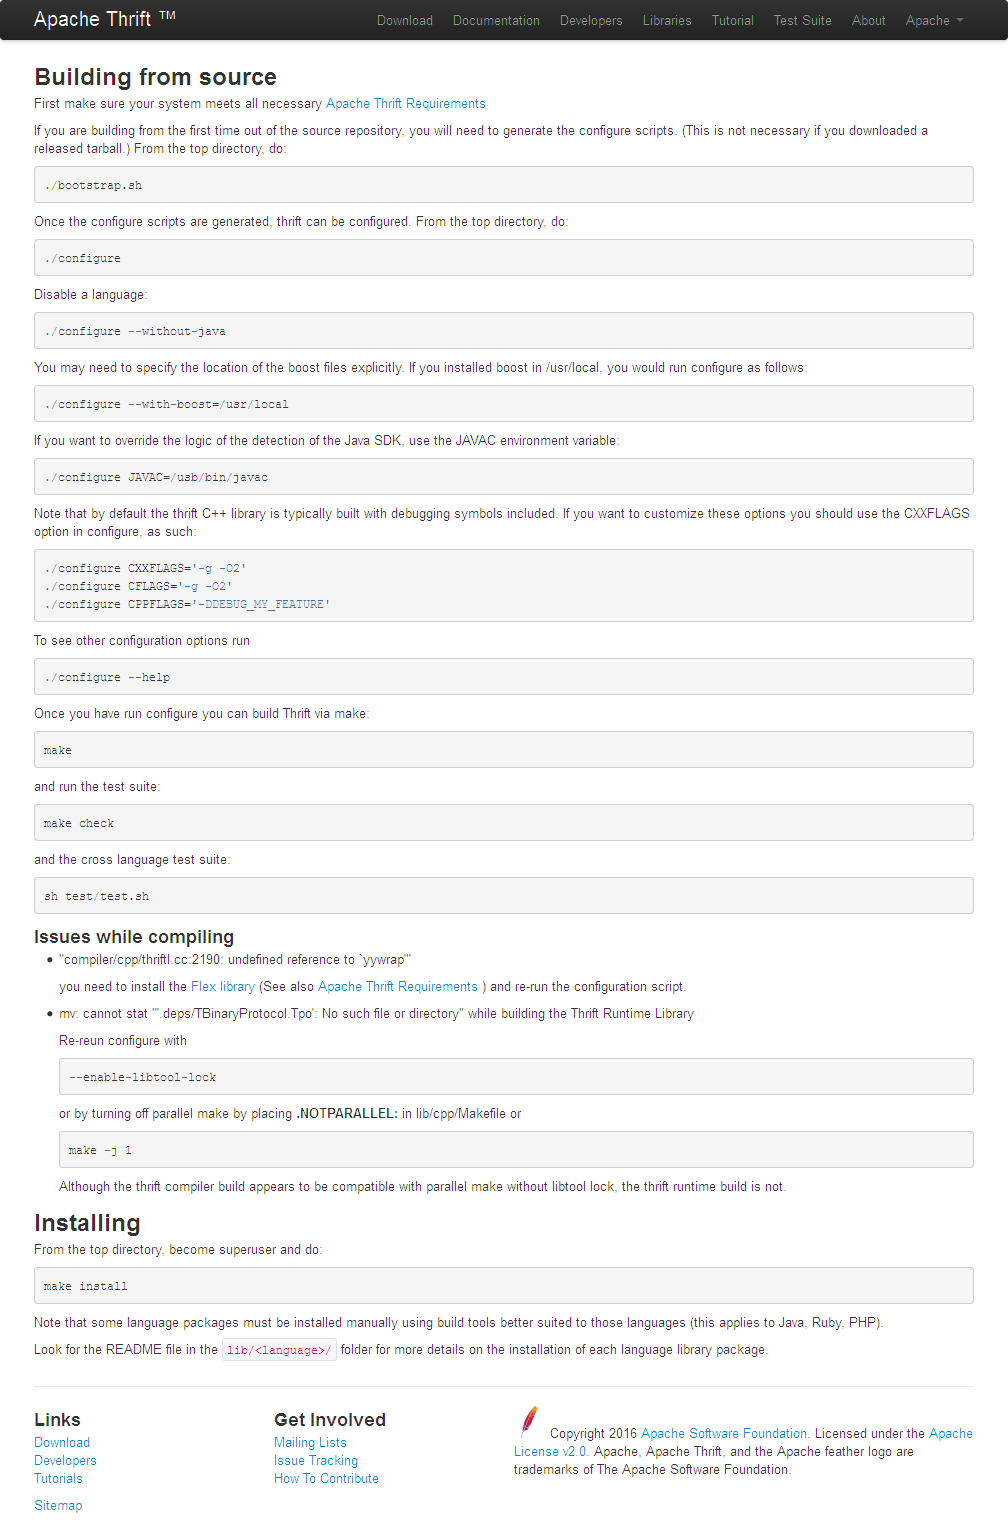
下载源码,解压后进行编译安装。Thrift下载地址:https://thrift.apache.org/download
tar zxf thrift-0.10.0.tar.gz
cd thrift-0.10.0/
./configure --with-cpp --with-boost --with-python --without-csharp --with-java --without-erlang --without-perl --with-php --without-php_extension --without-ruby --without-haskell --without-go
make # 编译耗时较长
sudo make install
参考:
启动HBase的Thrift服务
bin/hbase-daemon.sh start thrift
检查系统进程
~/work/hbase/hbase-1.2.4/conf$ jps
3009 ThriftServer
4184 HMaster
5932 Jps
733 Main
可以看到ThriftServer已成功启动,然后我们就可以使用多种语言,通过Thrift来访问HBase了。
Python访问HBase
下面以Python为例来演示如何访问HBase。
安装依赖包
sudo pip install thrift
sudo pip install hbase-thrift
Demo程序
from thrift import Thrift
from thrift.transport import TSocket
from thrift.transport import TTransport
from thrift.protocol import TBinaryProtocol
from hbase import Hbase
from hbase.ttypes import *
transport = TSocket.TSocket('localhost', 9090)
transport = TTransport.TBufferedTransport(transport)
protocol = TBinaryProtocol.TBinaryProtocol(transport)
client = Hbase.Client(protocol)
transport.open()
contents = ColumnDescriptor(name='cf:', maxVersions=1)
# client.deleteTable('test')
client.createTable('test', [contents])
print client.getTableNames()
# insert data
transport.open()
row = 'row-key1'
mutations = [Mutation(column="cf:a", value="1")]
client.mutateRow('test', row, mutations)
# get one row
tableName = 'test'
rowKey = 'row-key1'
result = client.getRow(tableName, rowKey)
print result
for r in result:
print 'the row is ', r.row
print 'the values is ', r.columns.get('cf:a').value
执行结果:
['test']
[TRowResult(columns={'cf:a': TCell(timestamp=1488617173254, value='1')}, row='row-key1')]
the row is row-key1
the values is 1