
关于图像显示有很多库可以用,Windows下有GDI,GDI+,D3D等,Linux下有X Window和Wayland,此外还有OpenGL,SDL等图形库以及各种GUI库。
了解最原始的方式,对于加深理解依然是有帮助的。下面给Windows和Linux下显示位图的最简单例子:
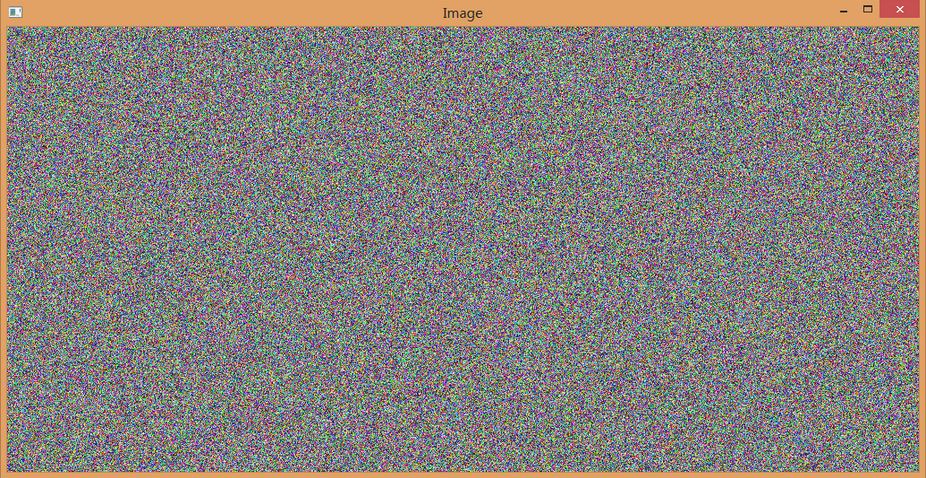
Windows用GDI显示图像的例子:
/*
* FileName: Image_Win.c
* Usage:tcc -luser32 -lgdi32 -run Image_Win.c
*/
#include <windows.h>
#include <stdlib.h>
//
typedef unsigned char byte;
typedef struct {
int Width;
int Height;
byte *Data;
} Image;
LRESULT CALLBACK WndProc(HWND hwnd, UINT msg, WPARAM w, LPARAM l)
{
HDC hdc;
RECT rect;
Image img;
BITMAPINFO bmi;
PAINTSTRUCT ps;
int iRowLength;
//
ZeroMemory(&bmi, sizeof(BITMAPINFO));
bmi.bmiHeader.biSize = sizeof(BITMAPINFOHEADER);
bmi.bmiHeader.biPlanes = 1;
bmi.bmiHeader.biBitCount = 24;
bmi.bmiHeader.biCompression = BI_RGB;
//
switch (msg) {
case WM_DESTROY:
PostQuitMessage(1);
break;
case WM_PAINT:
hdc = BeginPaint (hwnd, &ps) ;
GetClientRect(hwnd,&rect);
img.Width = rect.right - rect.left;
iRowLength = ((img.Width*8 * 3 + 31) & ~31) >> 3;
img.Height = rect.bottom - rect.top;
img.Data = (byte*)malloc(iRowLength*img.Height);
for(int i=0;i<iRowLength*img.Height;i++)
img.Data[i] = rand()%256;
bmi.bmiHeader.biWidth = img.Width;
bmi.bmiHeader.biHeight = img.Height;
SetDIBitsToDevice(hdc, 0, 0, img.Width, img.Height,
0, 0, 0, img.Height, img.Data, &bmi, DIB_RGB_COLORS);
break;
default:
return DefWindowProc(hwnd, msg, w, l);
}
return 0;
}
int main(int argc, char* argv[])
{
static TCHAR szAppName[] = TEXT("RandColor");
HWND hwnd;
MSG msg;
WNDCLASS wndclass;
int iCmdShow = 1;
HINSTANCE hInstance = NULL;
//
wndclass.style = CS_HREDRAW | CS_VREDRAW;
wndclass.lpfnWndProc = WndProc;
wndclass.cbClsExtra = 0;
wndclass.cbWndExtra = 0;
wndclass.hInstance = hInstance;
wndclass.hIcon = LoadIcon(NULL, IDI_APPLICATION);
wndclass.hCursor = LoadCursor(NULL, IDC_ARROW);
wndclass.hbrBackground = (HBRUSH)GetStockObject(WHITE_BRUSH);
wndclass.lpszMenuName = NULL;
wndclass.lpszClassName = szAppName;
if (!RegisterClass(&wndclass)) {
MessageBox(NULL, TEXT("This program requires Windows NT!"), szAppName, MB_ICONERROR);
return 0;
}
hwnd = CreateWindow(szAppName, TEXT("Image"), WS_OVERLAPPEDWINDOW^WS_THICKFRAME,
CW_USEDEFAULT, CW_USEDEFAULT, CW_USEDEFAULT, CW_USEDEFAULT,
NULL, NULL, hInstance, NULL);
//The message loop.
ShowWindow(hwnd, iCmdShow);
UpdateWindow(hwnd);
while (GetMessage(&msg, NULL, 0, 0)) {
TranslateMessage(&msg);
DispatchMessage(&msg);
}
return 0;
}
Linux下用X Window显示图像的例子:
/*
* FileName: Image_Linux.c
* Usage:tcc -lX11 -run Image_Linux.c
*/
#include <X11/Xlib.h>
#include <X11/Xutil.h>
#include <stdlib.h>
#define WIDTH 640
#define HEIGHT 480
int main(int argc, char **argv)
{
int win_b_color;
int win_w_color;
XEvent xev;
Window window;
Visual *visual;
XImage *ximage;
GC gc;
char*buffer=(char*)malloc(WIDTH*HEIGHT*4*sizeof(char));
Display *display = XOpenDisplay(NULL);
win_b_color = BlackPixel(display, DefaultScreen(display));
win_w_color = BlackPixel(display, DefaultScreen(display));
window = XCreateSimpleWindow(display,DefaultRootWindow(display),0, 0, WIDTH, HEIGHT, 0,win_b_color, win_w_color);
visual = DefaultVisual(display, 0);
//XSelectInput(display, window, ExposureMask | KeyPressMask);
XMapWindow(display, window);
XFlush(display);
gc = XCreateGC(display, window, 0, NULL);
//XEvent event;
while (1) {
for (int i = 0; i < WIDTH*HEIGHT*4; i ++)
buffer[i] = rand()%256;
ximage=XCreateImage(display, visual, 24,ZPixmap, 0, buffer,WIDTH, HEIGHT, 32, 0);
XPutImage(display, window,gc, ximage, 0, 0, 0, 0,WIDTH, HEIGHT);
}
return 0;
}
