
在设计我们的snap应用时,很多的时候我们需要使用一个wrapper(一个脚本)来启动我们的应用而不是直接调用在bin目录下的可执行文件.这里的原因有:
很多时候,我们可能需要在运行应用前把我们所需要的运行库的目录加载到我们的路径之中,比如LD_LIBRARY_PATH或LIBGL_DRIVERS_PATH
在应用运行前,创建我们所需要的文件目录;把我们所需要的文件拷入到我们可以直接读写的文件路径之中,比如SNAP_DATA,SNAP_USER_DATA等.这里有很大的原因是因为我们的SNAP安装目录是不可以写的(只读),所以我们的设置文件都应该放入到我们可以读写的文件目录中
在今天的教程中,我们来通过shadowsocks来展示如何利用wrapper来启动我们的应用.
snapcraft.yaml
name: ssocks # you probably want to 'snapcraft register <name>'
version: '0.1' # just for humans, typically '1.2+git' or '1.3.2'
summary: shadowsocks # 79 char long summary
description: |
This is a shadowsocks snap app
grade: stable # must be 'stable' to release into candidate/stable channels
confinement: strict # use 'strict' once you have the right plugs and slots
apps:
ssocks:
command: bin/wrapper
plugs: [network,home]
parts:
ss:
plugin: go
source: https://github.com/shadowsocks/shadowsocks-go
source-type: git
config:
plugin: dump
source: .
organize:
config.json: bin/config.json
wrapper: bin/wrapper
configure: meta/hooks/configure
从上面的例程我们可以看出来:我们的ssocks应用在运行的时候,调用了bin/wrapper而不是一个通常的binary可以执行的文件.这里的wrapper其实是一个Linux脚本:
wrapper
#!/bin/sh
set -e
config_file="$SNAP_DATA/config.json"
if [ -f "$config_file" ]
then
cat $config_file
$SNAP/bin/shadowsocks-local -c $config_file
else
echo "$config_file not found."
echo "Please run the following commmand to generate the file:"
echo "sudo snap set ssocks server=127.0.0.1 serverport=12255 localport=7777 password=123456 method=aes-128-cfb timeout=600"
echo "you can set only the parts which the above default values do not work for you!"
echo "Typically, you would use \"sudo snap set ssocks server=127.0.0.1 password=123456\""
fi
这里注意:wrapper这个文件是可以执行的.当我们创建这个文件后,我们必须使用如下的命令来使之是可以执行的:
$ chmod a+x wrapper
在这个脚本中,我们首先检查我们的config.json文件是否存在.如果不存在的话,我们将显示提醒让用户来配置所需要的设置文件.正对我们的情况,一个用户需要使用如下的命令:
$ sudo snap set ssocks server=127.0.0.1 serverport=12255 localport=7777 password=123456 method=aes-128-cfb timeout=600
这里的server是我们的shadowsocks服务器地址.当然,我们也可以直接使用如下的简单的命令来配置(如果上面的默认的参数是适合你的话,你就可以不配置)
$ sudo snap set ssocks server=127.0.0.1 password=123456
这里我们只配置我们需要的服务器地址和密码.通过上面的命令,它可以为我们在目录SNAP_DATA创建一个config.json文件.
实际上,当我们使用上面的命令时,我们已经调用了configure hook(http://blog.csdn.net/ubuntutouch/article/details/52981623).通过它,我们生产了一个在SANP_DATA目录下的config.json文件:
congfigure
#!/bin/sh
server="127.0.0.1"
serverort="12255"
localport="7777"
password="123456"
method="aes-128-cfb"
timeout="600"
if server=$(snapctl get server); then
echo "server is:$server"
fi
if serverport=$(snapctl get serverport); then
echo "serverport is: $serverport"
fi
if localport=$(snapctl get localport); then
echo "localport is: $localport"
fi
if password=$(snapctl get password); then
echo "password is: $password"
fi
if method=$(snapctl get method); then
echo "method is: $method"
fi
if timeout=$(snapctl get timeout); then
echo "timeout is: $timeout"
fi
#now, lets create the file into a JSON file
printf '{"server":"%s","server_port":%s,"local_port":%s, "password":"%s", "method":"%s", "timeout":%s}\n' "$server" "$serverport" "$localport" "$password" "$method" "$timeout" > $SNAP_DATA/config.json
同样的情况,我们需要使这个文件变得可以执行:
$ chmod a+x configure
它可以帮我们生产位于SNAP_DATA像如下格式的一个config.json文件:
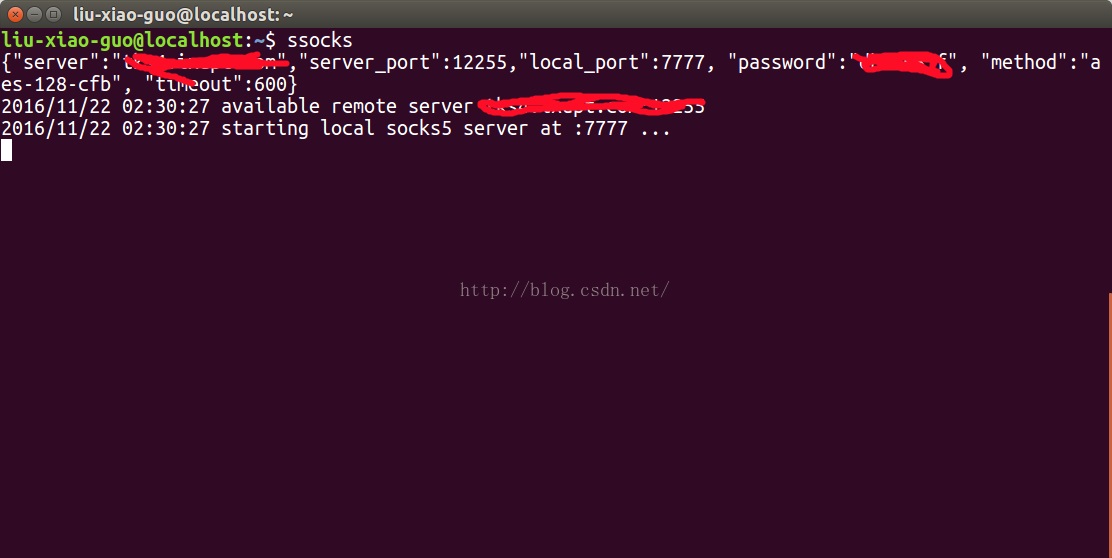
config.json
{
"server":"127.0.0.1",
"server_port":12255,
"local_port":7777,
"password":"123456",
"method": "aes-128-cfb",
"timeout":600
}
在wrapper中,如果config.json文件已经存在,那么它直接可以执行如下的命令:
$SNAP/bin/shadowsocks-local -c $config_file
从而完成我们的shadowsocks的命令的执行.通过这样的配置,我们就可以它的功能.
目前在Ubuntu Desktop上,由于有一个bug(https://bugs.launchpad.net/snappy/+bug/1636931),所有我们不可以使用sudo snap set 命令来设置我们的config.json文件.我们需要在KVM或一个设备上进行测试或者在我们的SNAP_DATA目录中创建一个上面的config.json文件即可.
所有这个项目的源码在:https://github.com/liu-xiao-guo/shadowsocks_cli
你可以发现发布的应用在:https://uappexplorer.com/app/ssocks.xiaoguo